Wednesday, April 14, 2021

Rose-Ellen's Stampin' Up! Birthday Bingo Bash 4/30/21 for all #MyStampingFriends #REsBirthdayMonth

Birthday Bingo Bash on Friday, April 30, 2021 at 7:30 pm

Registrations accepted through April 23, 2021

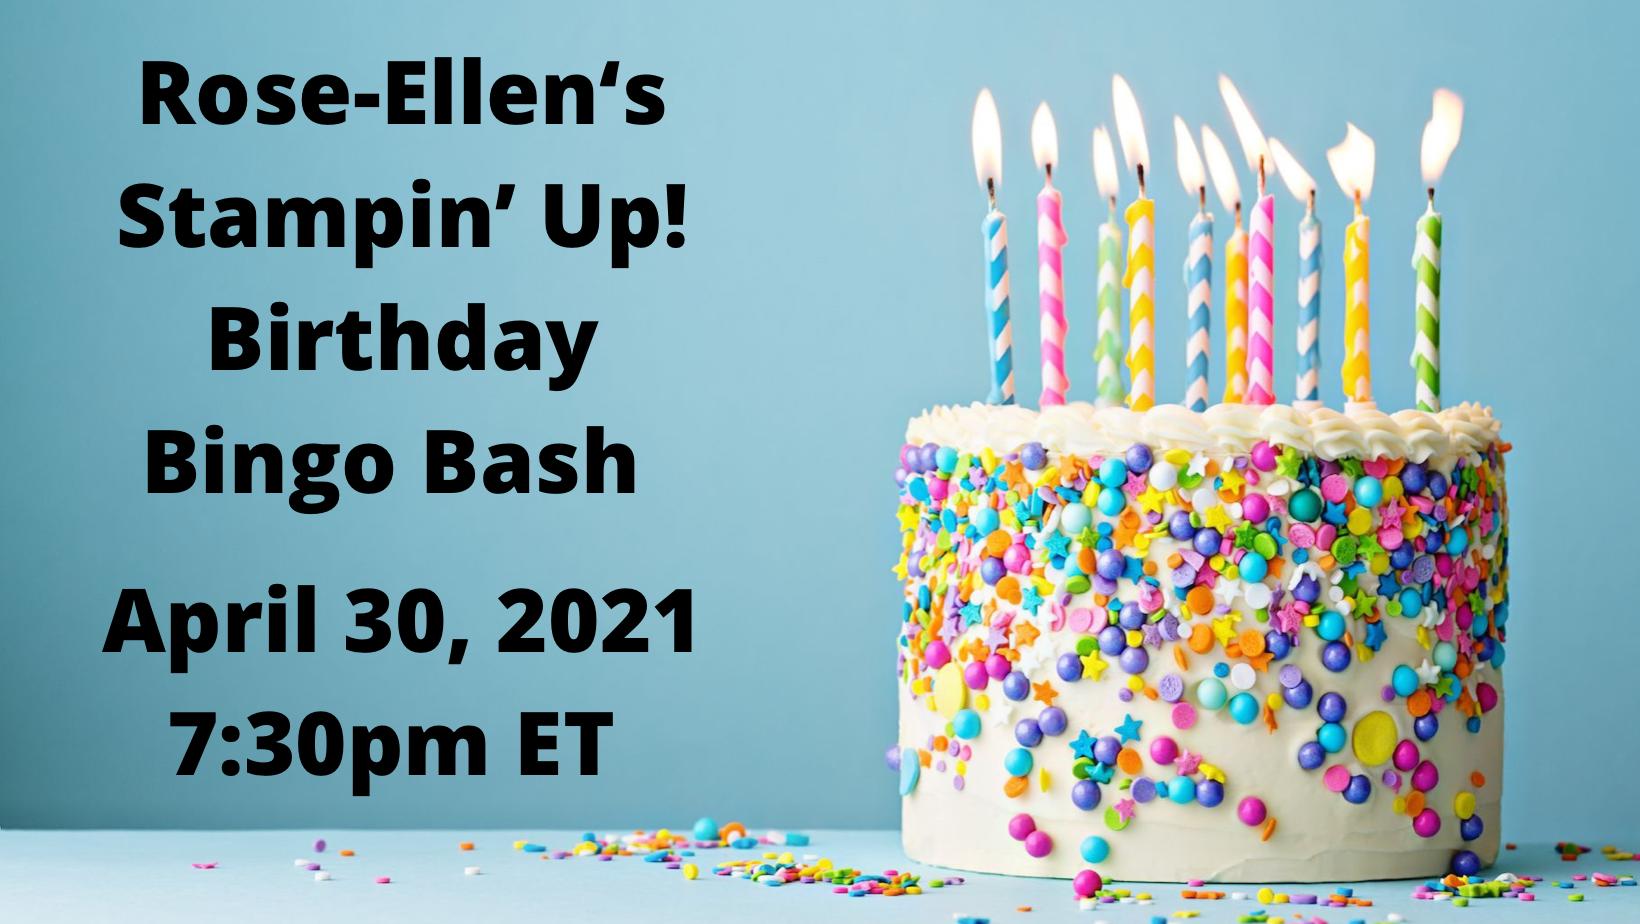
Rose-Ellen's Stampin' Up Birthday Bingo Bash


It's MY BIRTHDAY MONTH and My Stamping Friends are celebrating! What better way to do that than make pretty projects, play some Bingo games and give away prizes!! Join us online via ZOOM for my BIRTHDAY BINGO BASH Card Class on Friday, April 30th at 7:30 pm to make 3 Birthday Cards and play 5 games of Bingo! And since this is MY BIRTHDAY MONTH, we’re going to have some great prizes!

This event includes:
  • All the supplies you’ll need to create 3 Birthday themed cards including all the card stock that is already measured, cut, scored, die cut, embossed or punched as needed but it will not be stamped. I can not stamp anything for you as that goes against Stampin’ Up! Policy. Papers may vary slightly depending on how many join the event.
  • Paper Bingo cards to play the regular games
  • 1 Bingo card for the Jackpot game which gives you a chance to win you a minimum $50 SHOPPING SPREE from me. You can get extra Jackpot games by purchasing a Bonus Make and Take (hostesses choice card kits related to the cards for the night). The bonus card kit with another jackpot bingo card cost $5 each. You have the option to purchase up to 5 extra card kits with Bonus Jackpot bingo cards.
Supplies you’ll need to provide:
  • You will need to supply your own adhesive, ink, stamps, and acrylic blocks if needed. It’s helpful to have dimensionals, paper snips and a bone folder.
  • You'll also need something to ‘mark’ your Bingo cards too.
I will be using the Sweet Ice Cream Bundle for this event. If you would like to purchase the Sweet Ice Cream Bundle to duplicate the cards exactly, you can do that at my online store here: www.StampinUp.com?dbwsdemoid=2016780

To secure your spot the registration form and payment must be received before registration closes on Friday, April 23, 2021 at midnight ET. The Zoom Link information will be emailed to registered, paid participants by April 28th. You can register by clicking here.
https://forms.gle/xEP2divHbUoryDGa8
Registration costs $30. Free "Porch Pickup" for local bingo lovers! Long-distance bingo lovers are welcome, too! Please add $8 for delivery. If you want more than one kit mailed to you, contact me for shipping costs. Kits will be ready for pick-up or mailed Saturday April 24. We are not responsible for delays in shipping due to USPS. If your packet does not arrive before the event, you can still join us to watch how the cards are made and to play Bingo (I can email you your Bingo cards) and you’ll be able to complete the projects when your package arrives.
We will start on time with Bingo so do not be late. The ZOOM will open at least 15 minutes prior to the start of the event so you can make sure your audio and video are working. There will be a dry run before the event so you can test your ZOOM connection since I will not be able to assist with technology on the day of the event. The login information for the dry run will be sent to registered participants.

Register by Friday, April 23, 2021 by clicking here.
https://forms.gle/xEP2divHbUoryDGa8

Saturday, March 20, 2021

Stamping Cards 101: Ep 1-How to start stamping cards for beginners for #MyStampingFriends

Greeting My Stamping Friends, 

Have you always wanted to try stamping cards or scrapbook pages but didn't know where to start? Have you started and stopped because you didn't remember how to use the products you purchased? Well then this is the post for you!

I've just started a new series on my YouTube channel and the first episode starts with the basic three products you need to stamp a card and shows you some basic techniques on how to step up your card. 

You can start with the basics of Stamps, Ink and Paper and if you want you can add from there as you see fit. Check it out here and while you're there, don't forget to give me a thumbs up and subscribe to the channel and hit the notification bell so you know when I go live, or post to YouTube.


The supplies I mention in the videos are listed in the YouTube video description and if you have any questions at all, please feel free to pop them in the comments on YouTube so I get notified and can respond right there. That way everyone benefits from reading the answers.

Happy Stamping,

Rose-Ellen


Wednesday, October 14, 2020

Creating a Backgammon Board with Game On from Stampin' Up! for #MyStampingFriends

 Hey there My Stamping Friends,  

I originally got the Game On stamp set from Stampin' Up! to make some fun invitations for a Bunko game and some table decorations for my husbands poker game but Covid-19 is still around and we won't be doing either of those for a while.  Well, you know I like thinking outside of the box, and finding 'other' ways to use a stamp set so I came up with this Backgammon game (and a few other ideas that I'll post separately).  

Check out my video right here, on how to create this card.


If you want to make it right along with me, you can get the supplies on my website by clicking here and you can have the supplies right in front of you and make the project right along with me while you watch the video. 

You'll need:

Stamp Set: Game On (152646)

·         Card stock: Basic Black (121045), Very Vanilla (101650), Real Red (102482)

·         Ink: Memento (132708), Real Red (147084)

·         Tools & Accessories: Subtle Embossing Folder (151775), Lovely Labels Pick a Punch (152883), any punch or die that cuts circles between ½” to ¾” such as Freezin’ Friends dies (153561)

·         Designer Paper: In Good Taste (152494)

·         Misc: Multipurpose Liquid Glue (110755), Black Dimensionals (150893) Mini Glue Dots (103683)

Measurements: 

·         Card Base: Basic Black 8-1/2” x 5-1/2” scored in half at 4-1/4”

·         Card stock 1:  Very Vanilla – 4” tall by at least 3”- strip to cut into triangles as described later; 5-1/4” x 4” for inside card, and ¾” x 5” for sentiment

·         Card stock 2:  Basic Black 1” X 5” for sentiment layer and 4” x 2” for game pieces,

·         Card stock 3:  Real Red 4” x 2” for dice and game pieces

·         Designer Series Paper:  Choose a light wood - 5-1/4” x 4”

·         Designer Series Paper:  Choose a dark piece – 4” x 3” to cut into triangles as described later

 If you create a Backgammon game, I'd love to see it. 

If you got some enjoyment or learned something here today, I'd be so appreciative if you would LIKE my Facebook page and subscribe to my YouTube Channel and of course hit the notification bell so you will be notified when I post new videos. 

Until next time Stay Safe, Stay Healthy and Stay Stamping,

Rose-Ellen


Create a Pilgrim with the Gnome For The Holidays stamp set from Stampin' Up! for #MyStampingFriends

Hey there My Stamping Friends,   I've got something so exciting to share with you.  You all know how I like to stretch my stamp sets and try and get some unexpected things from them and this post is all about that!  I got the amazing Gnome for the Holidays stamp set from Stampin' Up! which has a few Christmas holiday themed Gnomes and some holiday sentiments.  Well, I've had it for a little while and was wondering what else I could do with it when I realized that I didn't have any cute Thanksgiving stamps this year yet so I had to give this a try. Enjoy my Pilgrim card!

Here is the video on how I made it.


 If you'd like to make one also, I've listed my supplies at the bottom of this post. I'd LOVE to see a photo of your creation so feel free to find me on Facebook either at my Page here https://www.facebook.com/StampinUpWithRoseEllen or on my group here https://www.facebook.com/groups/523855701321097

Don't miss out on our current promotion. Click here to check it out .  15% off Designer Paper packs.  That is quite a savings!

Don't forget that if you place a $35 order from me you're going to get link to the monthly tutorial COMPLETELY FREE. That means 15 projects with color photos, a supply list, a cut list and instructions on how to make all these projects on your own. 

Be the first to hear about my news and events.  If you haven't signed up for my newsletter yet, you can do that by clicking here.


Have a fantastic day!
Rose-Ellen

Have a fantastic day,

Rose-Ellen


Product List
Gnome For The Holidays Cling Stamp Set (English)
$19.00
Pretty Peacock 8-1/2" X 11" Cardstock
$8.75
Whisper White 8-1/2" X 11" Cardstock
$9.75
Crumb Cake 8-1/2" X 11" Cardstock
$8.75
Rich Razzleberry 8-1/2" X 11" Cardstock
$8.75
Cajun Craze 8-1/2" X 11" Cardstock
$8.75
Pumpkin Pie 8-1/2" X 11" Cardstock
$8.75
Plaid Tidings 6" X 6" (15.2 X 15.2 Cm) Designer Series Paper
$11.50
Tuxedo Black Memento Ink Pad
$6.00
Rich Razzleberry Classic Stampin' Pad
$7.50
Lovely Labels Pick A Punch
$23.00
Tasteful Labels Dies
$31.00
Autumn Punch Pack
$39.00
Stampin' Cut & Emboss Machine
$120.00
Magnetic Cutting Plate
$24.00
Stampin' Seal+
$12.00
Stampin' Seal
$8.00
Multipurpose Liquid Glue
$4.00
Stampin' Dimensionals
$4.00
Mini Glue Dots
$5.25
Paper Snips
$10.00
Paper Trimmer
$25.00
Clear Block D
$8.50
Clear Block C
$7.00

Thursday, August 20, 2020

Partial Panel Card using Gnome For The Holidays stamp set and Stampin' Blends from Stampin' Up! for #MyStampingFriends

Hi there My Stamping Friends, 

I just recently saw my friend Jennifer Helm show this layout and I'd never seen it before. That's always so exciting for me as I love to find a new-to-me fold or technique. I saw this and knew I had to make and share a Christmas card. I made a little video that you can see here.


I used the Gnome For The Holidays stamp set and the Heartwarming Hugs Designer Series Paper from the August-December 2020 Mini Catalog to create the card.  

Cardstock:

Mossy Meadow Base: 5-1/4 x 5-1/2, scored at 1 inch on the 5-1/4 side , making the base 4-1/4 x 5-1/2 with a 1 inch flap at the top. You'll also need a 4 inch square

Whisper White (or Very Vanilla if that coordinates with your Designer Series Paper): card insert 4 x 5-1/4 and one piece 3 x 3-3/4

Designer Series Paper: 2 pieces that are 4 x 1. 

Ribbon

13 inches to wrap around the card and enough to ties a bow.

Directions:

Attach DSP to Whisper White card insert. Stamp sentiment centered on insert and attach to card base.

Stamp the Gnomes on the Whisper White card front in Memento Ink & color with the Stampin' Blends and then attach to the bottom of the 4 inch square Mossy Meadow cardstock.

Attach the 4 in square Mossy Meadow to the inside center of the 1 inch strip of the base. 

Attach ribbon around the 1 inch flap and then create a bow and attach it in place. 

At the end of this post you will see a list of all the supplies I used.  If you want to purchase any of these products, just click on the product photos and you'll be taken to my shop or you can visit it directly at www.RoseEllenEastman.StampinUp.net

If you order $35 in merchandise from me you will get an email link to my FREE TUTORIAL BUNDLE created by the Demo Design Dream Team.

What do you think? Let me know in the comments below or leave some love for me in the comment section of the video. When you watch the video make sure to subscribe to my channel and hit the notification button so you don't miss my future uploads. Right now I'm hosting Facebook Live events each Wednesday and Sunday evening at 7:30 and I upload to YouTube after that. 

If you want to stay up to date and get my newsletter to see what classes I'm offering at any given time, click here.

Have a great day and Stay Stamping!

Rose-Ellen


Product List

Sunday, June 14, 2020

How to do the Scrappy Strip Technique using the Zany Zebras stamp set from Stampin' Up! for #MyStampingFriends

Hey there My Stamping Friends,  When I first saw the Zany Zebra stamp set from Stampin' Up! I immediately saw this card in my mind. Do you recognize the Zebra? Do you see what I was going for here?   Yup, It Yipes Stripes (it rhymes), the zebra from the Fruit Stripe Gum that we used to get as a treat when I was young.

Click here to see the Technique Tutorial
Click on the photo above to see the Scrappy Strip Technique
video with the Zany Zebra stamp set


This brought me right back to my childhood and the 30 seconds of flavor I got from each piece of this gum. I had a blast making the project and I love sharing it with you.

                                                            Product List
 If you want to purchase any of these products, just click on the photos above and you'll be taken to my shop or you can visit it directly at www.RoseEllenEastman.StampinUp.net

If you order $35 in merchandise from me you will get an email link to my FREE TUTORIAL BUNDLE created by the Demo Design Dream Team.

Have a fantastic day!
Rose-Ellen